
Calibration — Line Sensor, Motor, and Navigation PID
The Calibration app provides four types of calibration: Battery Calibration, Line Sensor Calibration, Motor Calibration, and Navigation PID Tuning. Navigate to UserPanel > Apps > Calibration to access them.
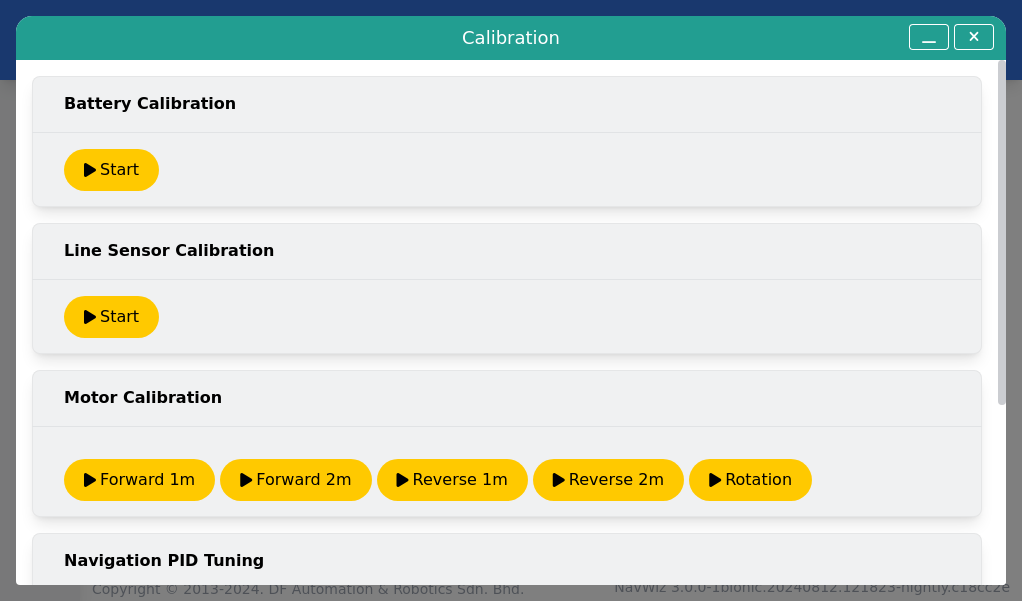
Line Sensor Calibration ensures the line sensor accurately reads the magnetic tape on the floor. This is a required procedure for track-guided AMRs.
- Place the AMR on a continuous magnetic tape without any junctions or branching. The tape must not have a double layer (which typically occurs at intersections). The tape should be longer than the AMR, and the AMR must be positioned in the middle.
- Navigate to UserPanel > Apps > Calibration and click the Start button for Line Sensor Calibration.
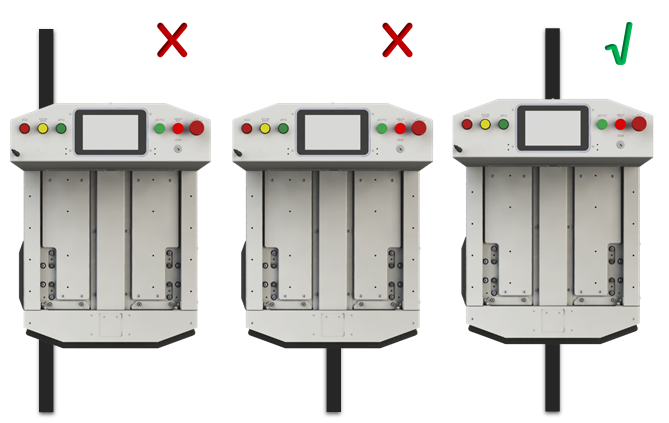
- The AMR will automatically rotate left, then right, and finally stop on the magnetic line upon successful calibration. A Cancel button is available during the process.

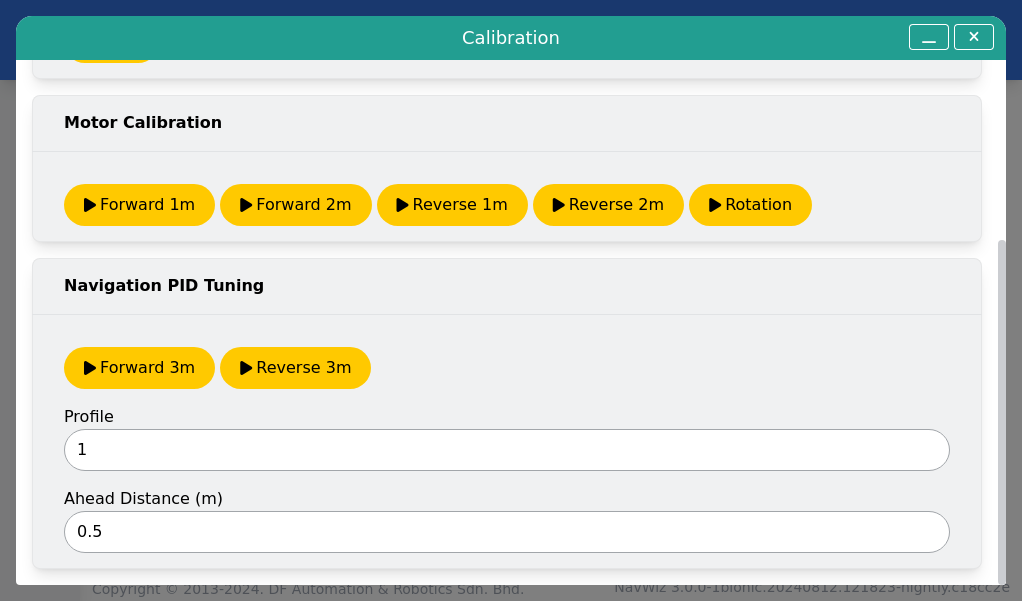
Motor Calibration ensures precise and accurate movement control. Two types of calibration are required: Forward/Reverse calibration (must be done first) and Rotation calibration.
- Forward/Reverse calibration: Place the AMR in a spacious area and mark the starting positions of its left and right wheels.

- Choose the appropriate calibration method: Forward 1m, Forward 2m, Reverse 1m, or Reverse 2m. The AMR will navigate autonomously and display encoder readings for each wheel.
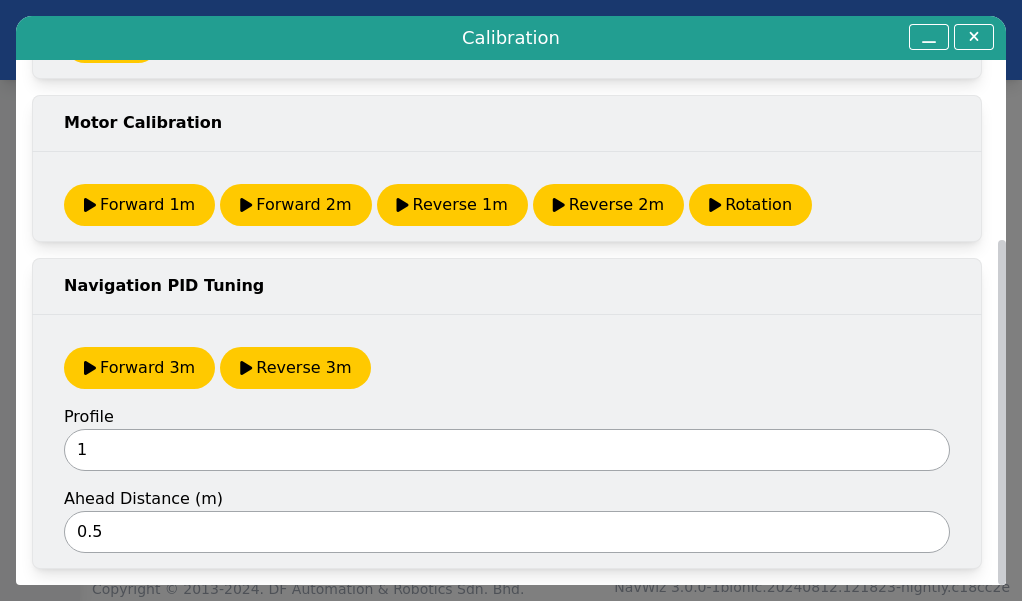
- After the AMR stops, mark the stopping positions of both wheels. Measure the actual distance traveled for each wheel and update the Left Distance and Right Distance fields. Click Save.
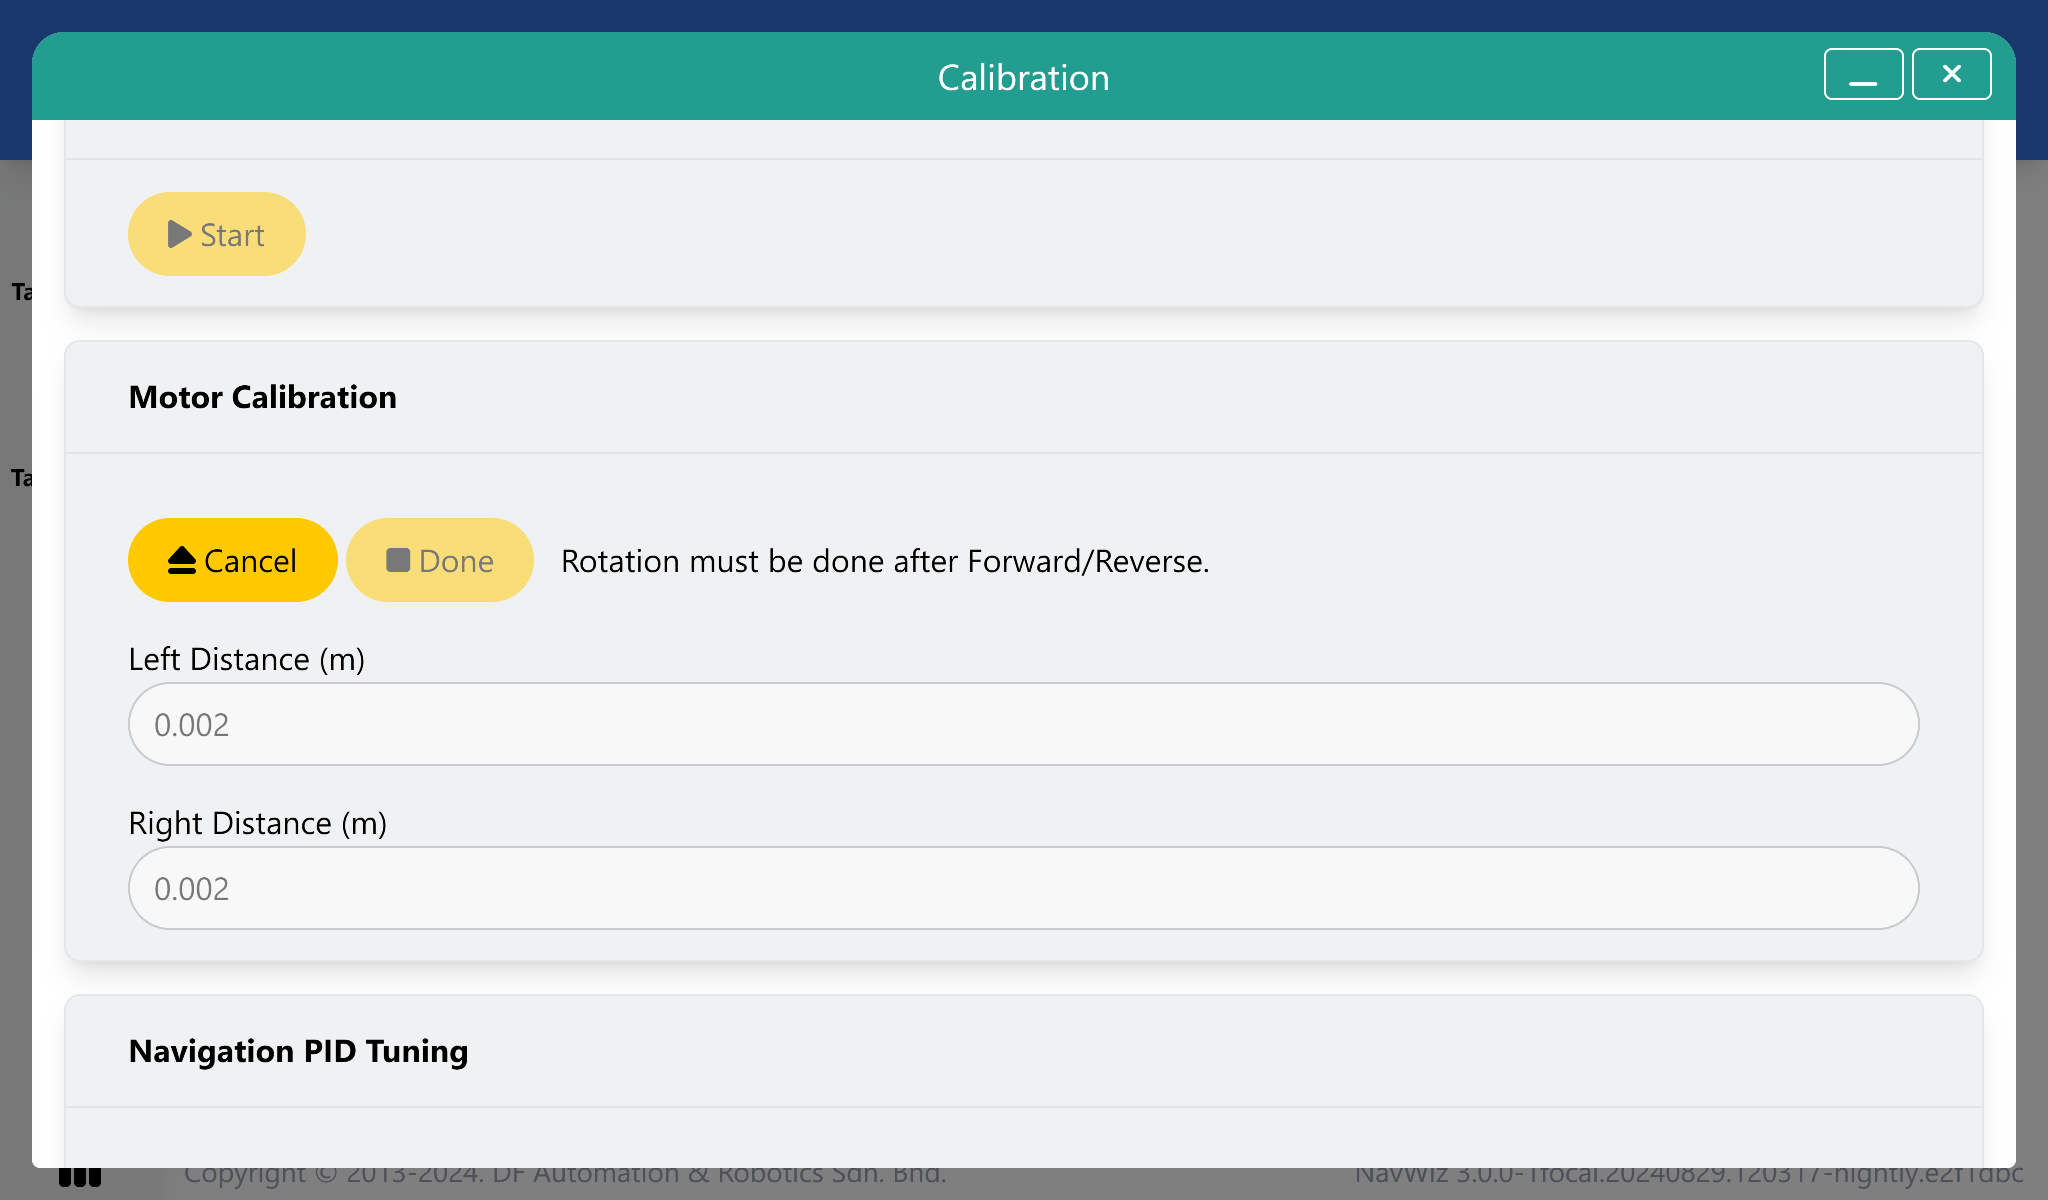
- Repeat the process and verify that the actual traveled distance is very close to the target distance. Then proceed to Rotation Calibration.
- Rotation calibration: Place the AMR in a spacious area and mark the starting positions of both wheels. Click the Rotation button to start.
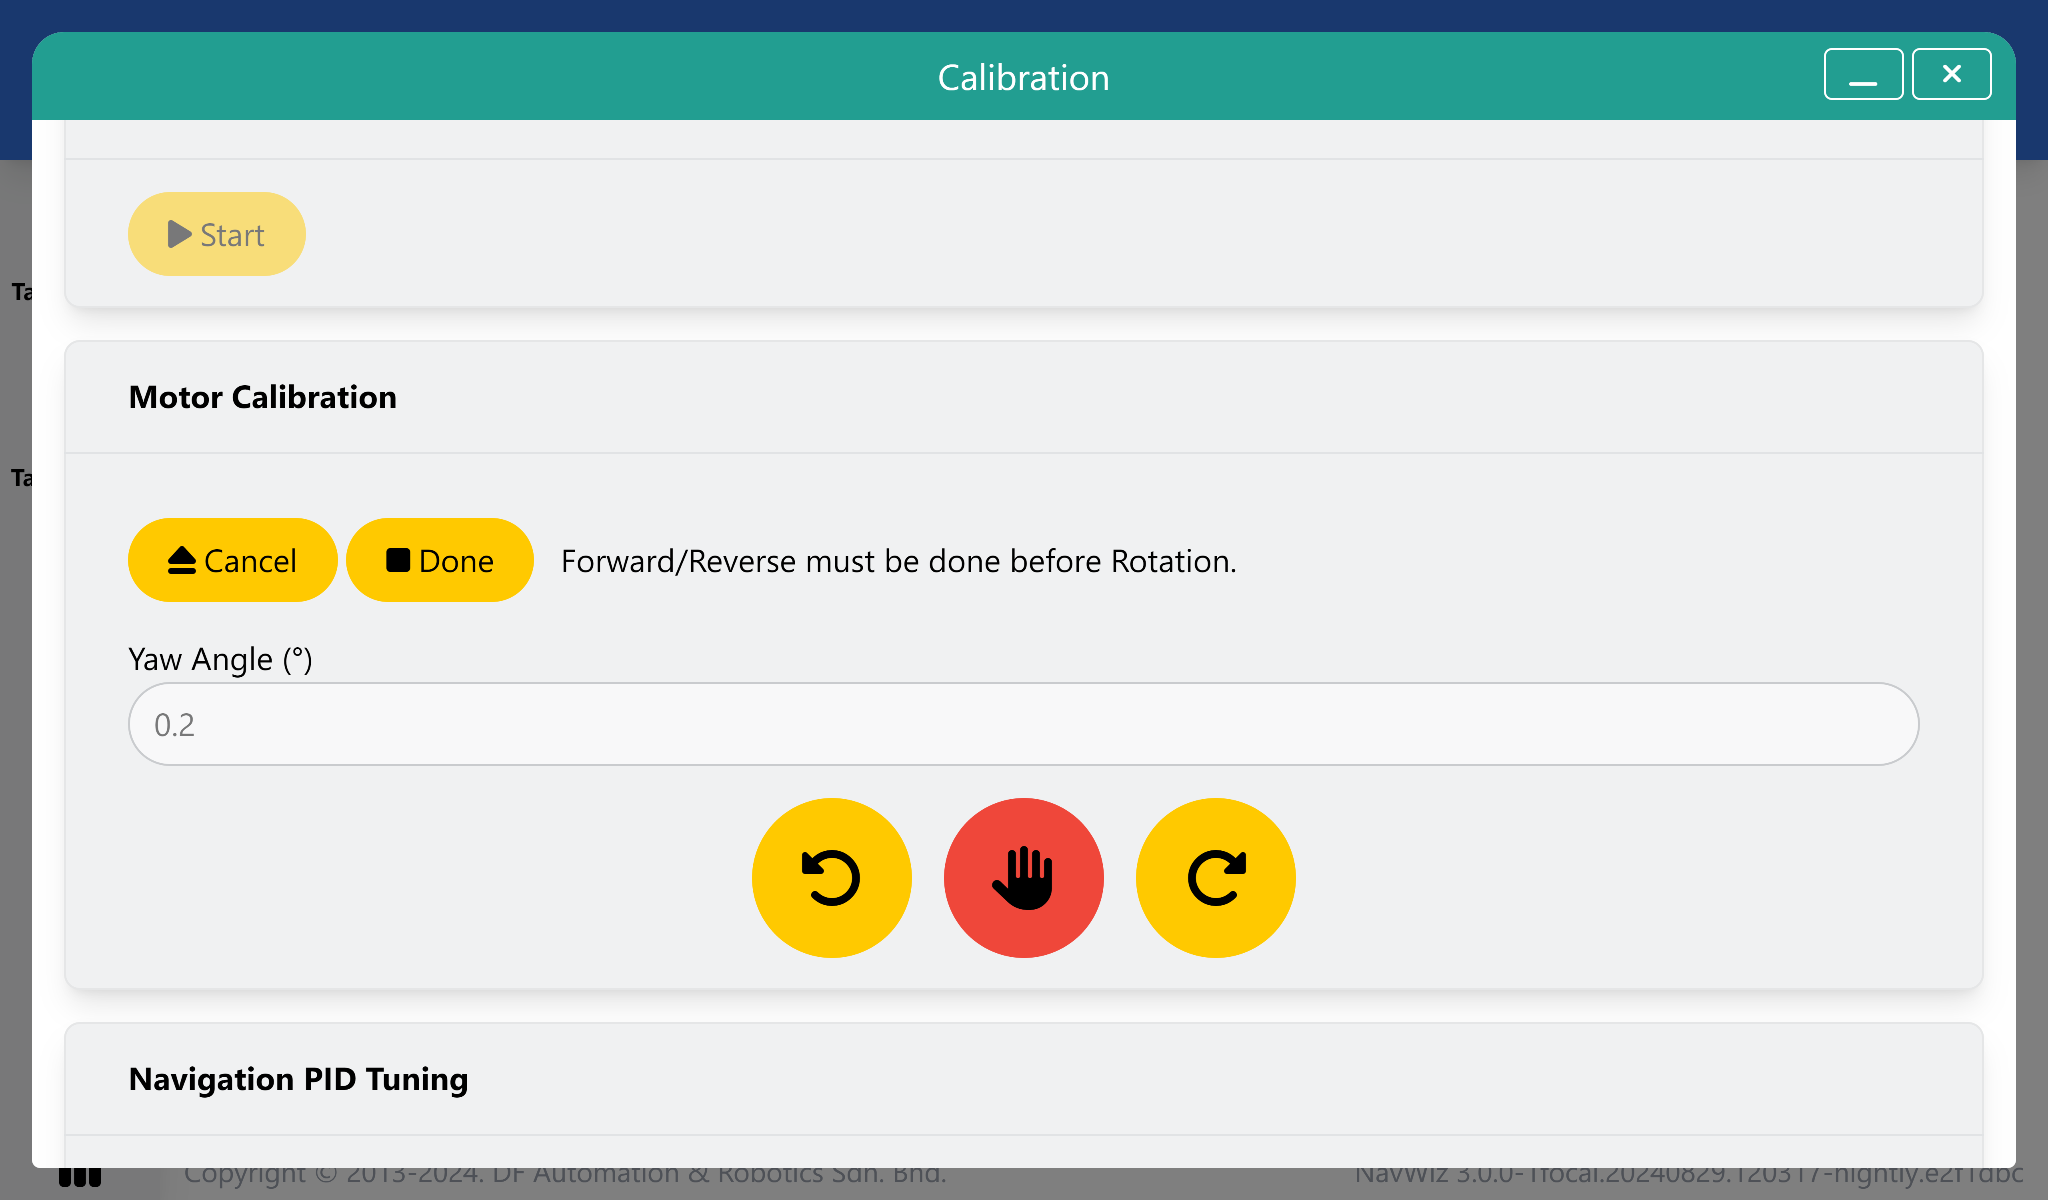
- Use the left and right buttons to manually rotate the AMR until the left wheel is at the initial position of the right wheel and vice versa, then click Done.
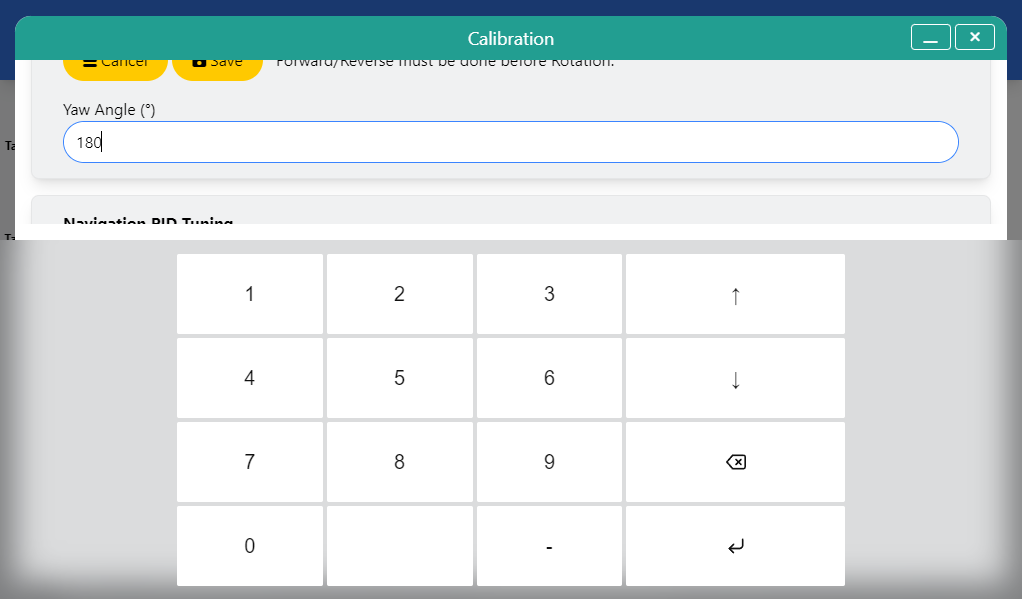
- Since the AMR rotated 180 degrees, update the Yaw Angle field with 180 and click Save. Verify accuracy using the "Rotate (by angle)" action in Action Test.
Navigation PID Tuning fine-tunes PID values for improved smoothness and stopping accuracy during navigation.
- Place the AMR in a spacious area with at least 3 meters of clearance. Configure the Profile (Navigation Profile number, default is 1) and the Ahead Distance (distance in meters from wheel center to the furthest point in front or rear).
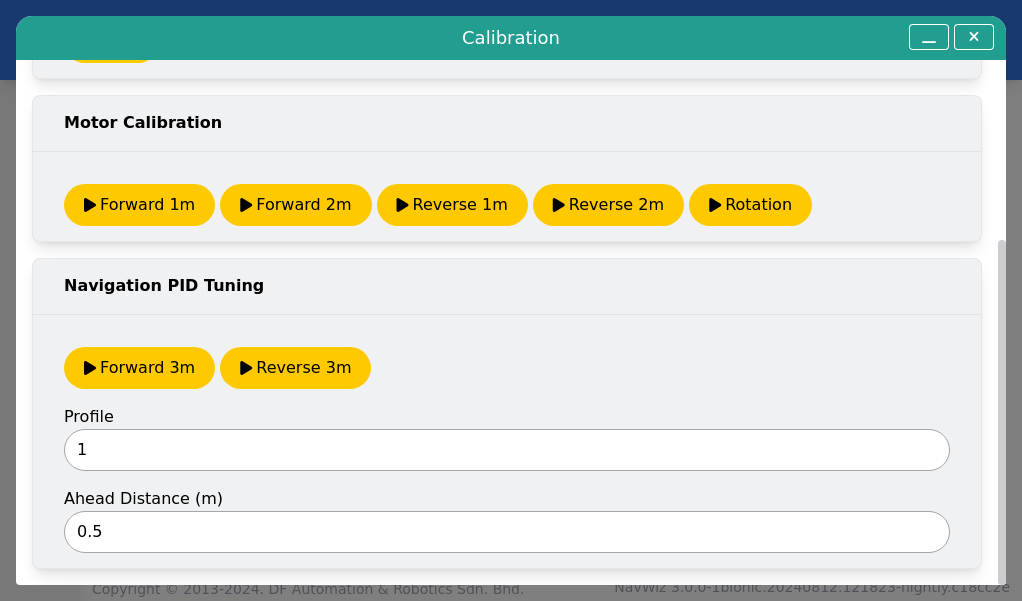
- Click Forward 3m or Reverse 3m to initiate tuning. The AMR will navigate the specified distance and automatically update the PID result to the corresponding profile.