
Connect to WiFi
- To connect WiFi, press the WiFi symbol at the top right corner.
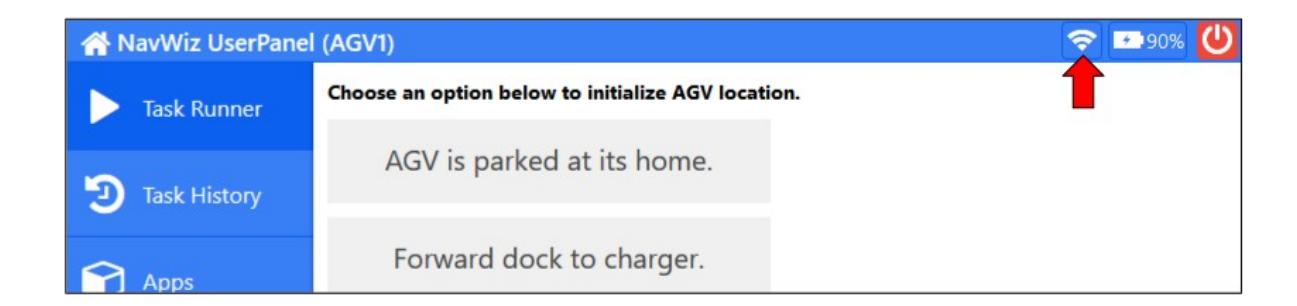
- Turn On the WiFi mode and connect to any WiFi connection that you want.
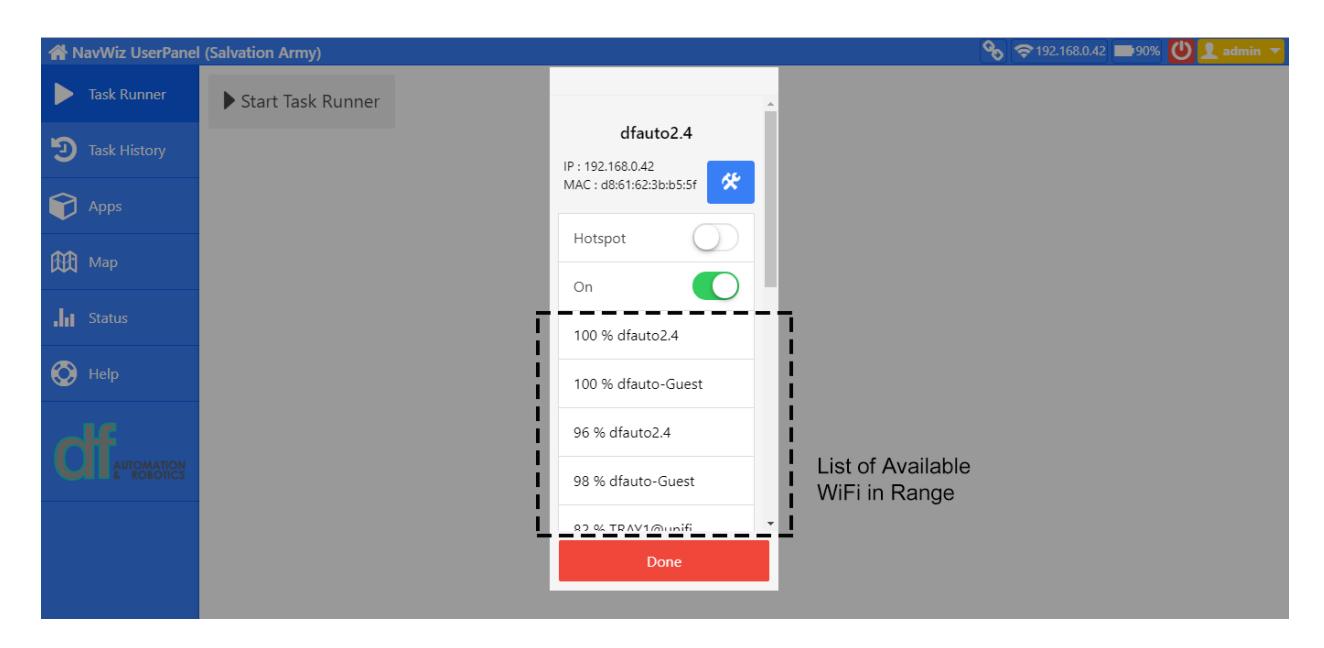
You will be able to find the IP address and MAC address at the top of the popup after you have connected to an Internet access.
Enable Access Point (AP) Mode
Access Point mode is a feature to broadcast a WiFi network for the connection from laptop or PC. For cases that there is no WiFi network on site, user can activate the Access Point from AGV for laptop or PC connection. To activate it, click on the same WiFi icon on top right corner, and click on AP Button to activate the AP.
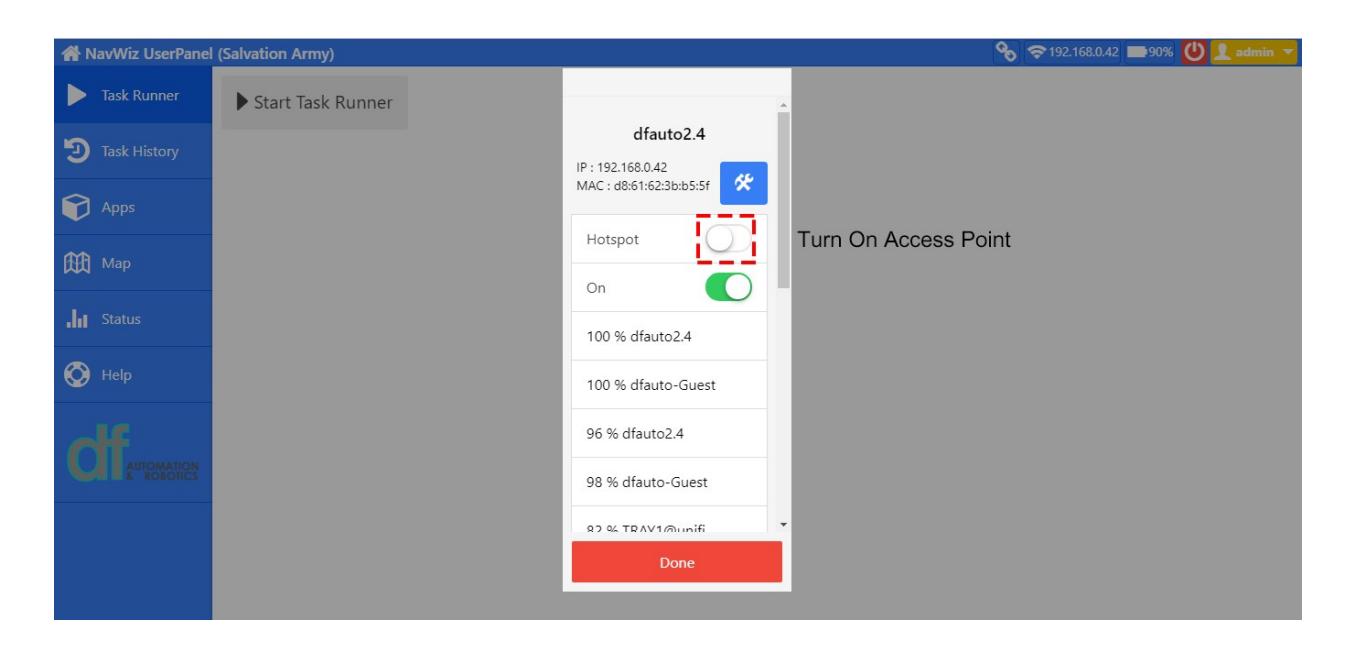
The AP mode will be activated shortly after the steps above. The IP address and MAC Address will be shown on the top part of the this popup.
To connect to the AGV’s WiFi network from laptop or PC, make sure that the device is within 10 meter range from AGV. Scan and connect to AGV WiFi network: WiFi SSID: zalphaAGV Security key: dfautomation